Liam: Adding a Packing Pocket to Boxer Briefs
One of the first articles of clothing that I started sewing was actually underwear. That might sound counterintuitive to most people, but when you take into consideration that I am trans-masculine then it really makes perfect sense based on my clothing needs. I think most people who pack have at some point in time had (or worried about) their packer moving around strangely or even in the worst-case scenario falling right out. There are a number of solutions to this problem, but I find packing underwear the most comfortable because it keeps the packer separate from my skin and doesn’t add an extra elastic waistband around my hips. The problem about packing underwear though is that it’s generally pretty expensive so having a whole drawerful can be cost prohibitive. When you consider the materials and labour that goes into them they’re usually fairly priced, but when you add in shipping and potentially exchange rate it just ends up being way more than standard underwear. So when I started sewing, figuring out how to modify an underwear pattern to accommodate a pocket was high on my list of priorities. Below is the method that I have come up with to draft and sew a packing pocket for the style of underwear that I prefer to wear.
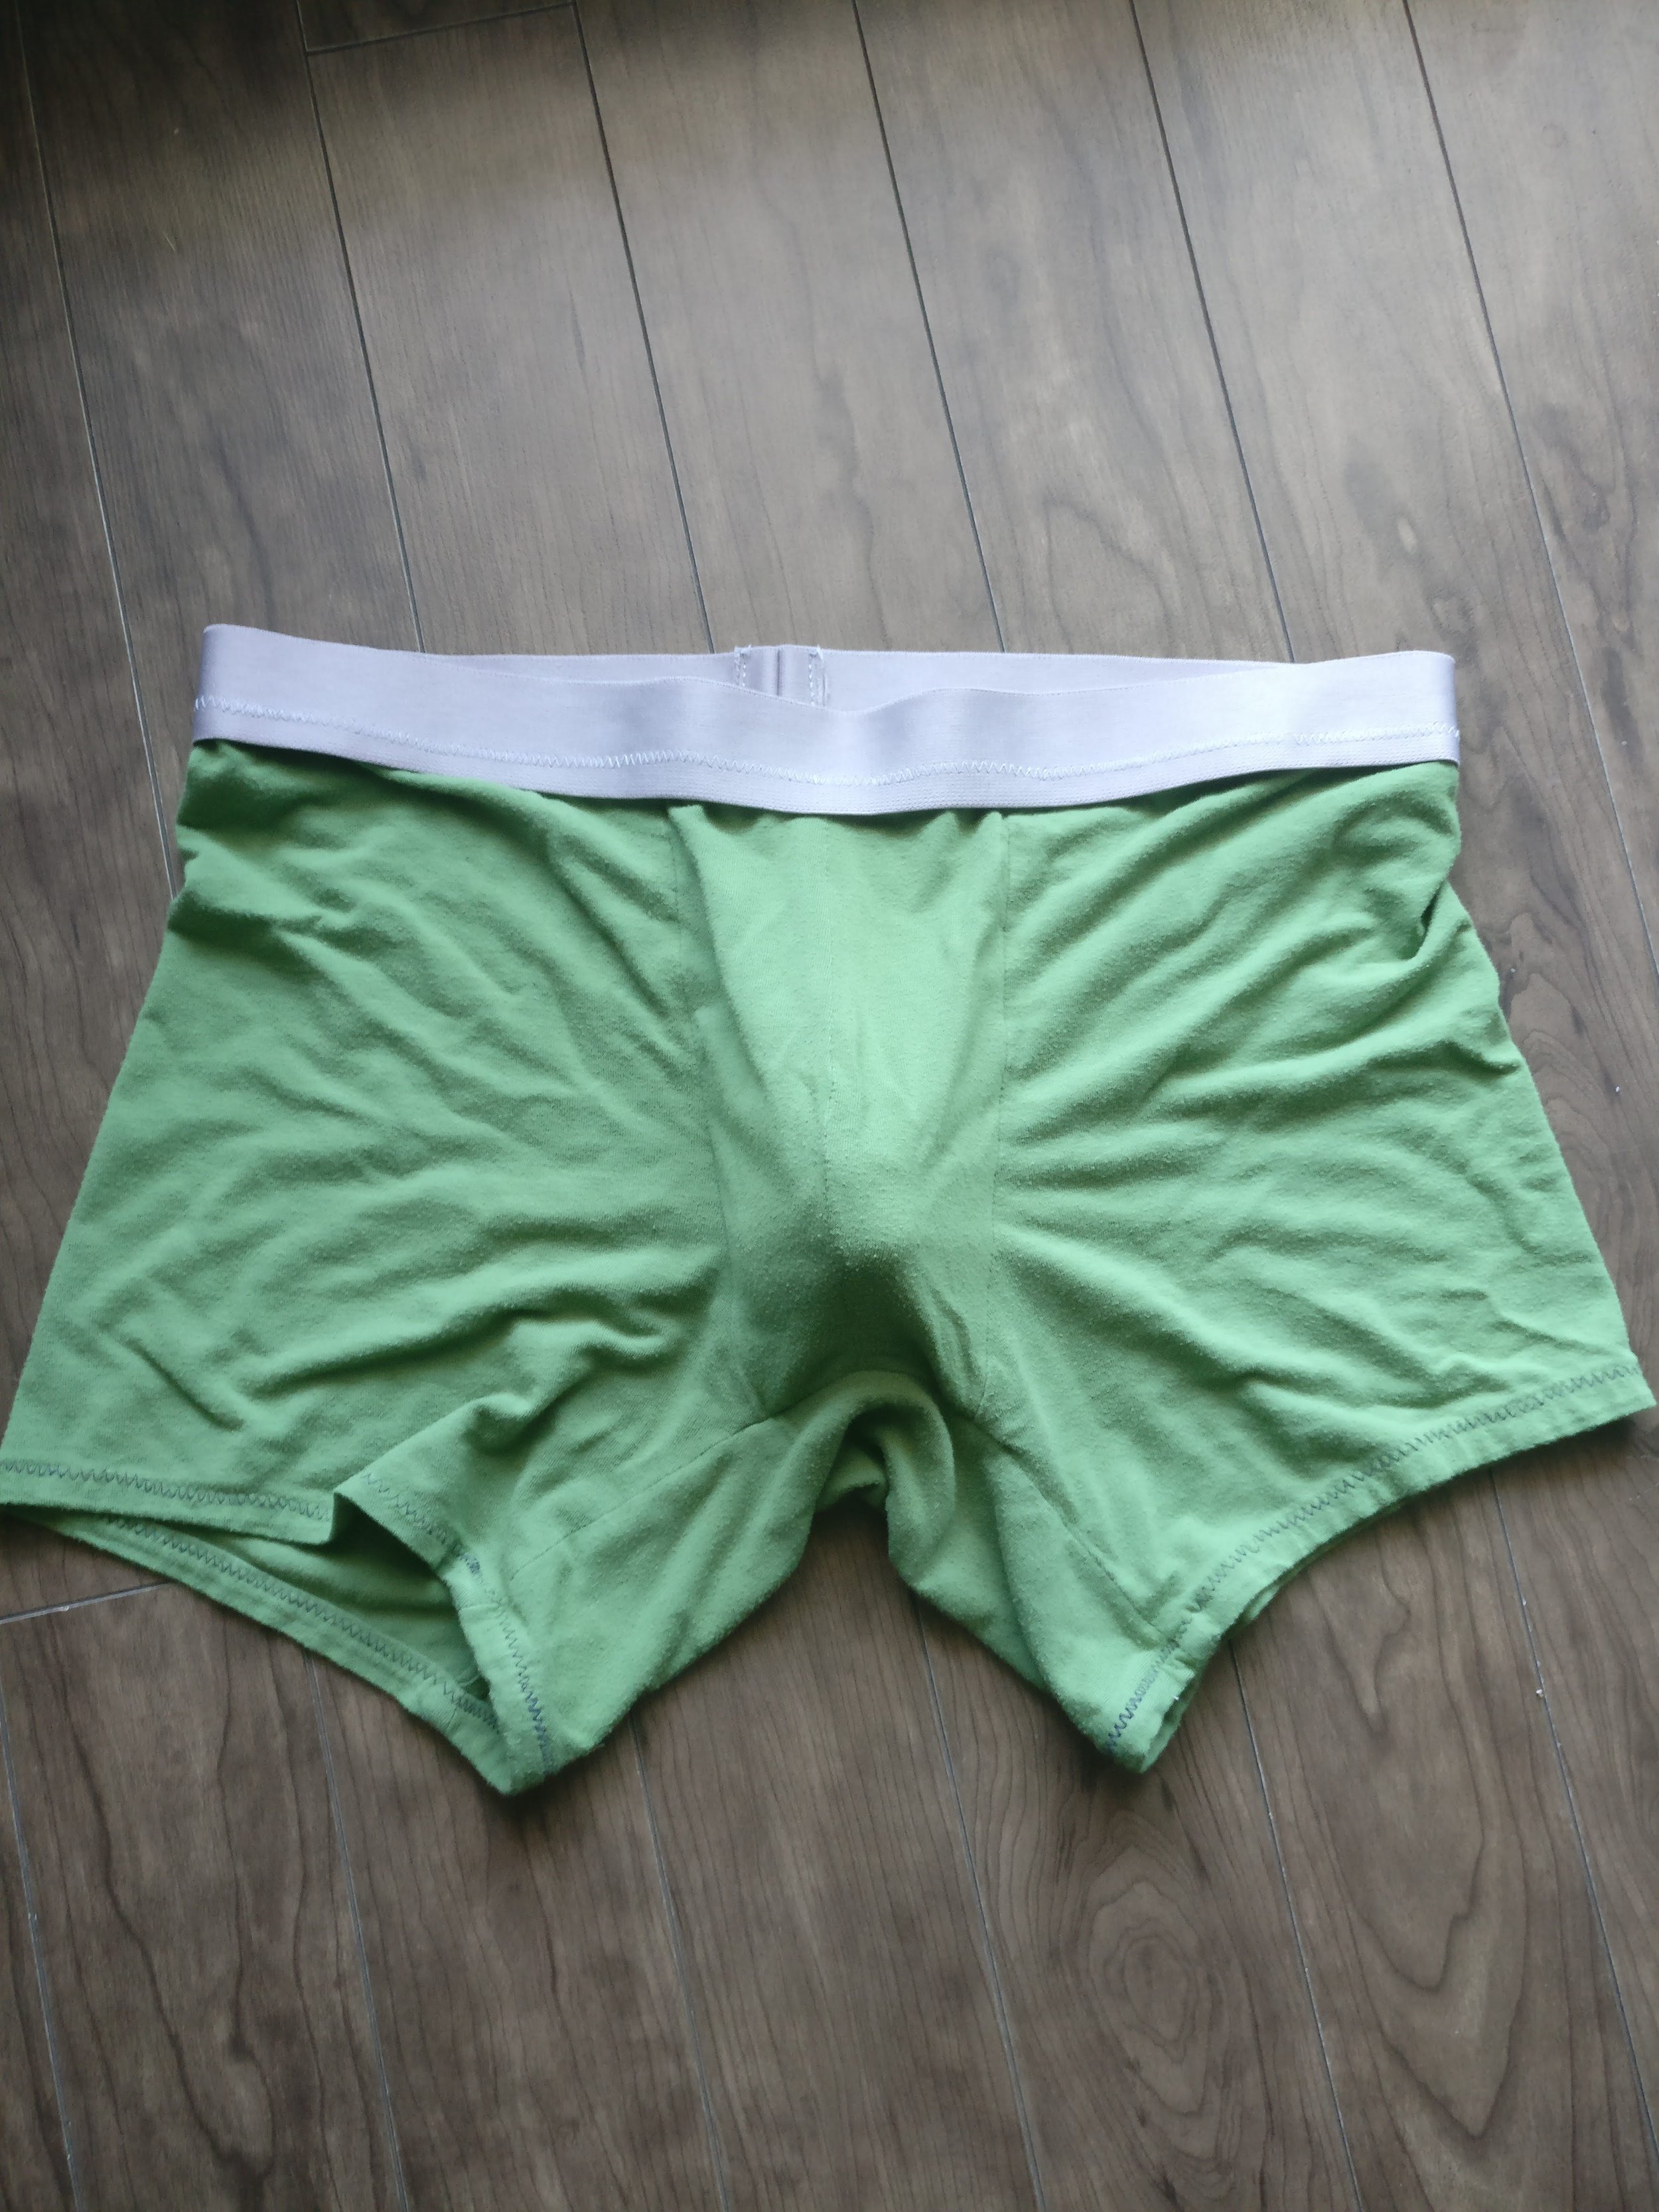
A pair of green boxer briefs with a grey waistband on a fake wood floor. There is a prosthetic in the packing pocket.
I don’t know whether this will exactly work for any underwear pattern, but the pattern that I use is the Comox Trunks by Thread Theory designs (24”–45” waist, 31”–49” hip). It’s a pattern for boxer briefs with a two-piece front to make the “pouch,” and I think this method should work on any other pattern of a similar construction. (Or even on an existing pair if you just sew it in carefully along the seam lines.) If you look at the pattern you will probably notice that it has a two layer “quick access” front, this is something that I’ve completely gotten rid of since there is no way that I would be using it and I wanted to cut down on extra bulk at the front since I would be adding another layer already. (If you use an STP I still don’t think it would be very functional to keep the “quick access” because you will still have the back of the pocket in the way.) Other than the cutaway the pattern pieces are the same though so you can just cut two of the “whole” pieces and none of the “cutaway” ones and sew them together instead of a “whole” piece and a “cutaway” piece.

A pair of green boxer briefs with a grey waistband containing a prosthetic hanging from an improvised hanging display apparatus consisting of a ruler and fridge magnets. In the background there is an old Kenmore sewing machine sitting on a table.
The idea behind how this pocket works is that by sewing together the two curved edges of the outside front pieces you create a pouch that bags outwards but has straight sides which get sewn to the rest of the underwear. You can then take advantage of this by adding a piece behind it that is like the shadow those pieces would cast on a flat surface (this always makes me think of calculus), so that when sewn together you have a comfortable surface that fits close to the body and a pocket with the proper amount of space to comfortably accommodate a prosthetic.

The inside of a pair of green boxer briefs with a grey waistband. The packing pocket is slightly open because it contains a prosthetic and the underwear are hanging from the front edge.
The measurements that you will need are the desired height of the pocket, the length of the bottom seams, and the width at the top of your pocket. The bottom length is the easiest to determine: simply measure the bottom of the pattern piece for the front, subtract the centre seam allowance, and then double what is left. The overall shape of the projection of the pocket is likely to be a trapezoid (making the assumption that the side seams are linear), so to get the overall shape then you can repeat the same thing with the top of the pattern piece and use the height of the pattern piece to draft the shape.
Next you just draw a line how high you want the pocket to come up and add a bit extra for a double rolled hem at the top. I usually just leave the whole thing as a trapezoid for ease of cutting later and then just trim any corners that stick out after I’ve sewn it together (if you are sewing with a triple stitch, which is likely for knits like this, then it won’t unravel even if you snip the seam). You could make the pocket quite high, so that it comes up to the elastic, but I find that I like mine to be a bit lower so that it’s easy to reach my hand into to put in or take out my packer. I’ve included a little sketch below showing where to take your measurements from, with some completely made up numbers to help illustrate where they would go.

A pencil sketch showing an example of how to draft a packing pocket pattern piece with example dimensions.
Now for how to incorporate your pocket into the sewing process. Once you’ve sewn together the front pouch pieces I’d recommend sewing the top hem on the pocket. Mine usually ends up being around ½” (full disclosure: I don’t bother to measure it). Then when you are sewing the front onto the side pieces you just line up the edges of the pieces and the bottoms and sew them together as if they were one. And you will do the same with the bottom once you eventually get to it.
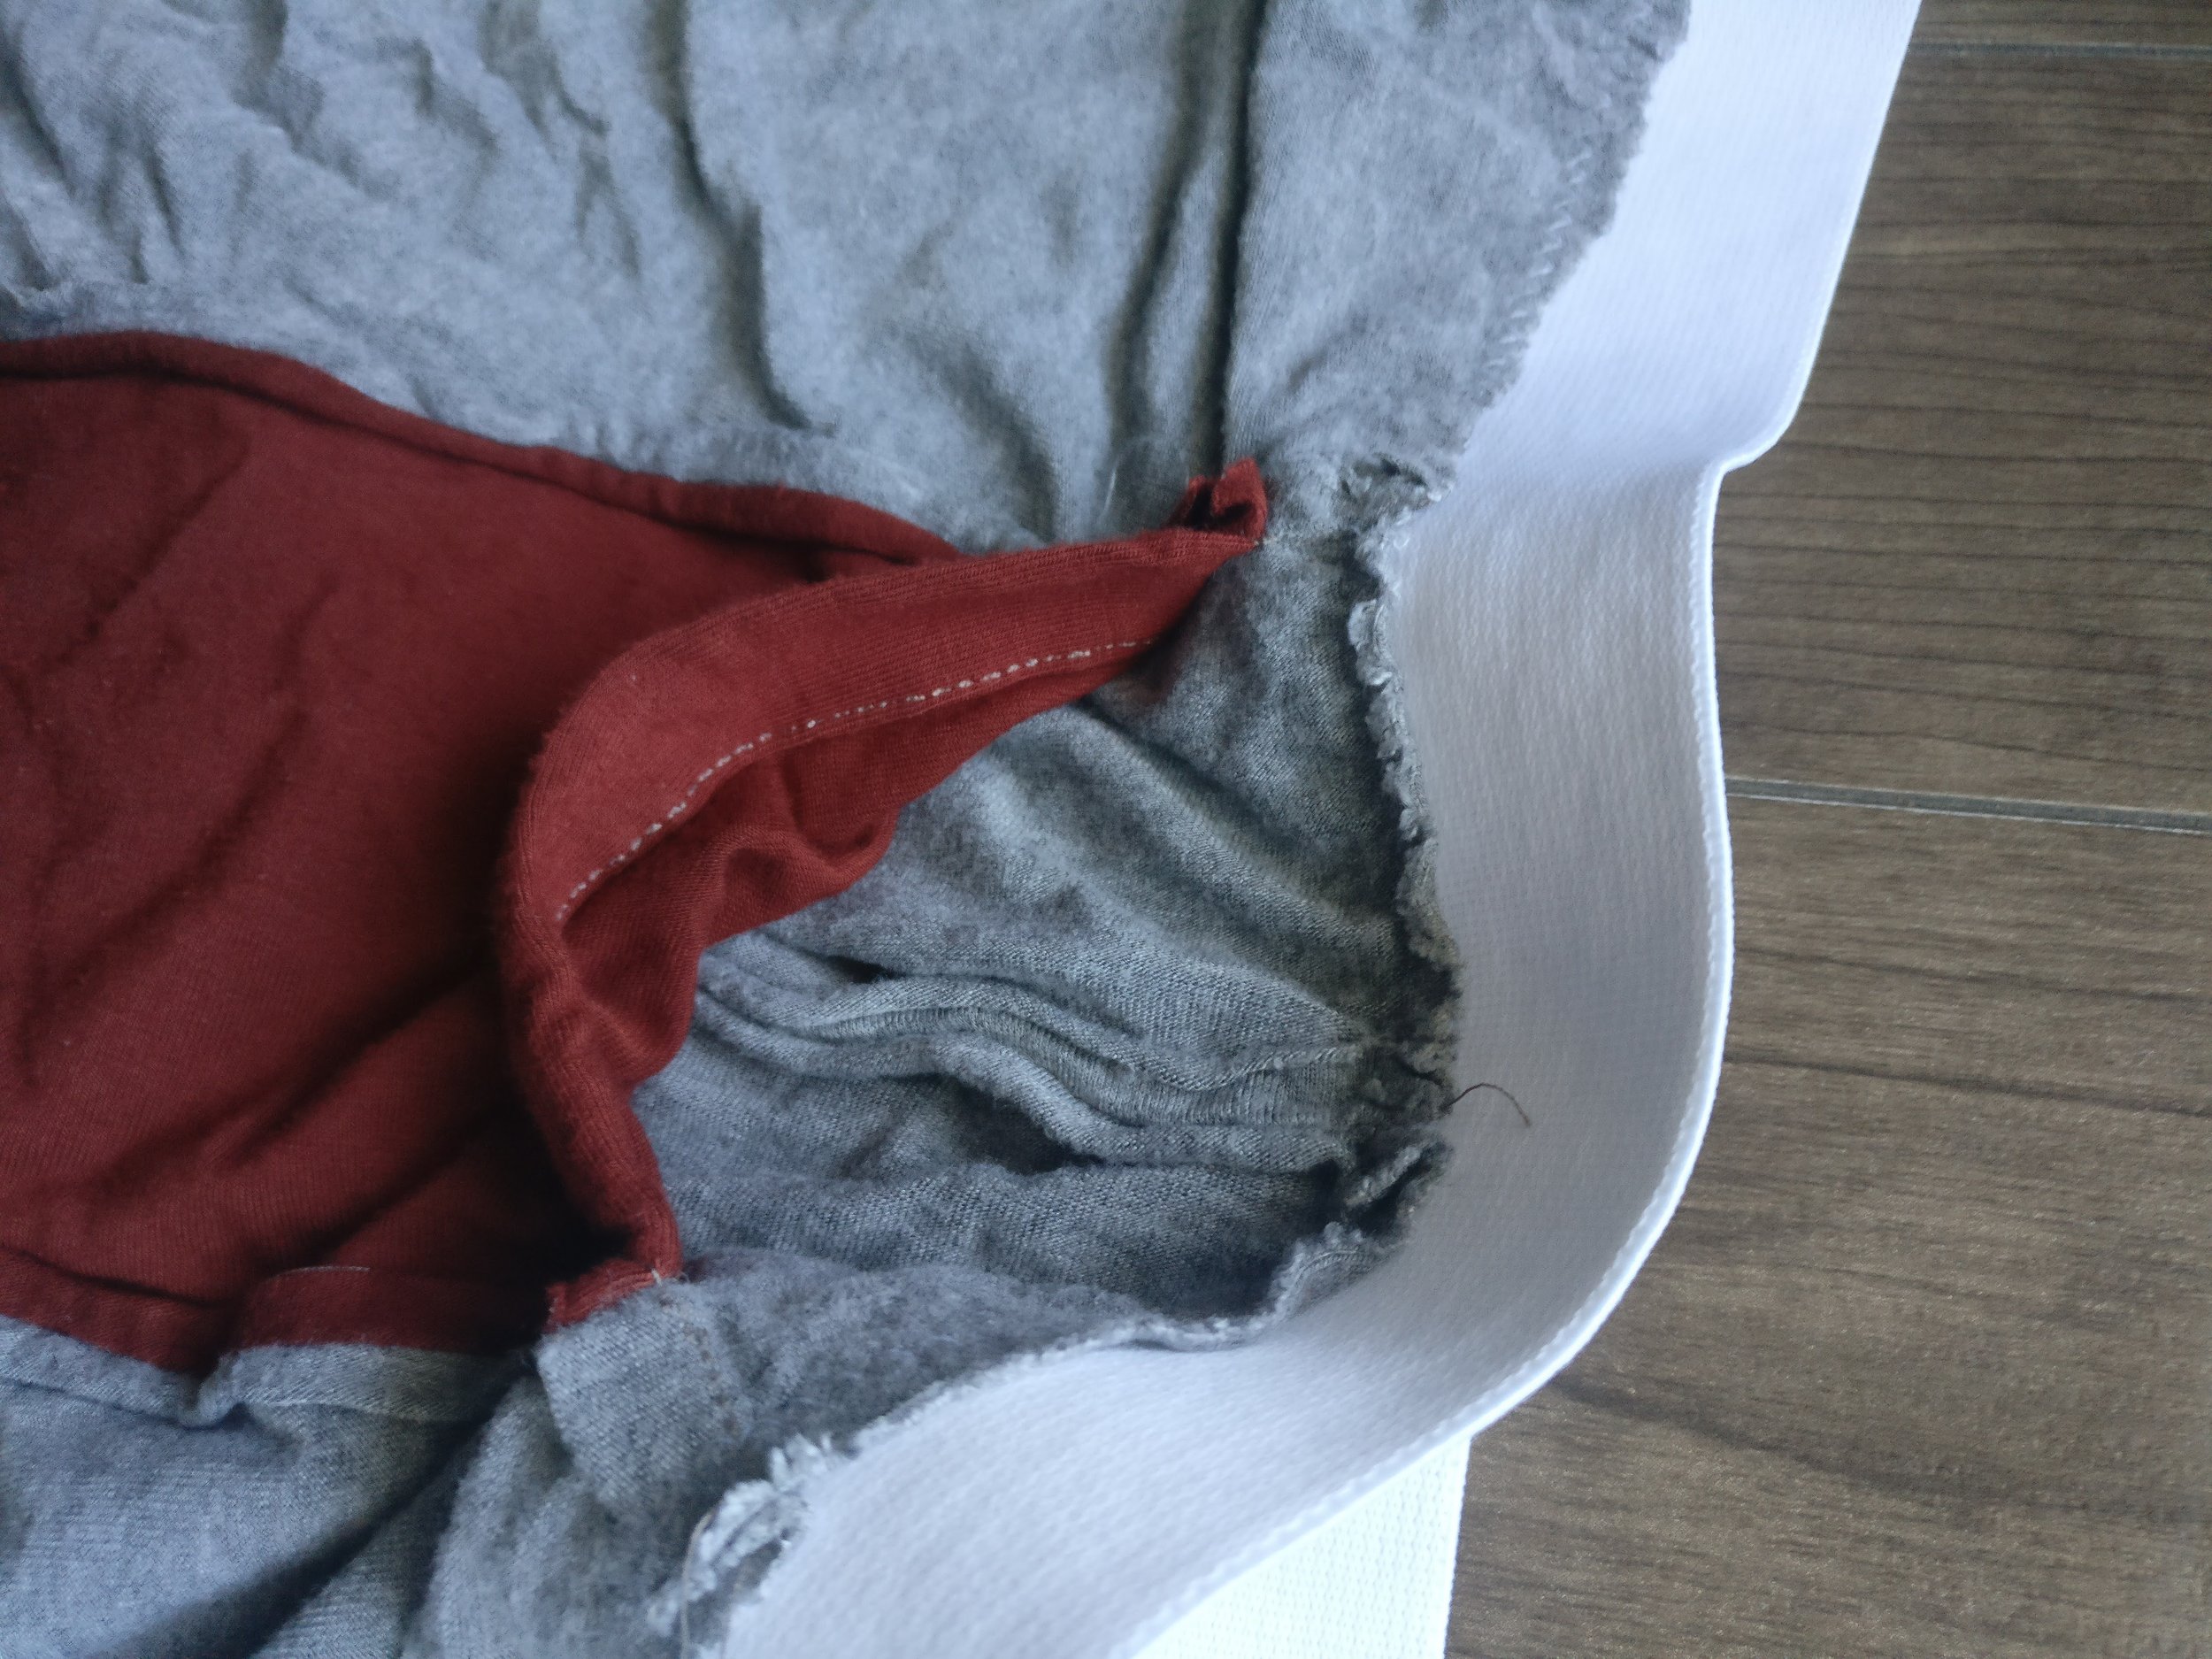
The inside of a pair of grey boxer briefs with a white waistband and red packing pocket on a fake wood floor. The top edge of the pocket is folded back to show the seam lines of the top hem and the centre of the pouch pieces.
This creates a pocket that goes all the way to the bottom, so there is plenty of room even if you like to pack large (or if you’re just wandering around your home in your undies with your hands full and need a place to put your phone). I was initially worried about the length of the pocket (I was not able to figure out a way to easily make a shorter pocket with enough space) and whether it would look like things hung too low but I’ve not had any problems with it and I’ve been wearing a pair of these every day for two years now. It’s not a super tight pocket either so I suppose you do get some movement/shifting throughout the day, but I feel like the pocket does keep things within a normal range even in loose pants.

The inside of a pair of grey boxer briefs with a white waistband and red packing pocket on a fake wood floor. The entire pocket is in view to show the size and the location of the seams.
All in all it’s not the most glamourous solution (you might still want to consider buying your sexy undergarments), but it’s easy and works well for everyday wear which is exactly what I needed and I imagine that others might be needing too. The process is really not as hard as it first might seem and knit stretch fabric is very forgiving even if your seams are wobbly or you cut a piece in the “wrong” direction. (And perhaps this is blasphemous, but you may not even need to finish the seams, mine have not frayed at all yet.) Hopefully this post is encouraging to anyone who has been considering making their own packing underwear but didn’t know where to start or was feeling intimidated by the process.
Happy sewing!

A selfie of Liam, a white person with glasses wearing a dark blue and green plaid long sleeve button up shirt with a band collar. There is an old Kenmore sewing machine in the background.
Liam (he/him) is a white, queer, transman living on Treaty 3 land in Ontario. He is a knitter and sewist who is working on making a wardrobe of clothing for himself that actually fits both his style and body. When not working on his fibre arts hobbies he can usually be found reading or spending time outdoors. You can find him on Instagram @theleaninglarch.
Sew Queer is a community, and we welcome comments and discussion. In order to create a welcoming and multivocal space working towards a more just and equitable future, we review every comment before approval. Comments promoting racism, classism, fatphobia, ableism, or right wing political ideology are not allowed and will not be approved. For more details on commenting, visit our commenting guidelines.